Photography is a beautiful blend of art and science, allowing us to capture moments, tell stories, and express creativity. For beginners, learning the basics can feel overwhelming, but with a few essential tips, anyone can confidently start their photography journey. Whether you’re using a DSLR, mirrorless camera, or a smartphone, these foundational principles will help you capture stunning photos.
1. Understand Your Camera Settings
Every camera, from a professional DSLR to a smartphone, has basic settings that impact how your photos turn out. Here’s a quick breakdown of the three core settings that make up what photographers call the “exposure triangle”:
- Aperture: This is the opening in the lens that controls how much light reaches the camera sensor. Aperture is measured in f-stops (like f/1.8, f/5.6, etc.). A low f-stop (like f/1.8) means a wide aperture that lets in more light, resulting in a blurred background (great for portraits). A higher f-stop (like f/16) means a smaller aperture, keeping more of the image in focus (ideal for landscapes).
- Shutter Speed: This determines how long the camera’s shutter remains open, allowing light to hit the sensor. A fast shutter speed (like 1/1000) freezes motion, while a slower shutter speed (like 1/30) can create a motion blur effect, which is useful for capturing movement in things like waterfalls or light trails.
- ISO: ISO refers to the camera sensor’s sensitivity to light. A low ISO (like 100) is best for bright conditions and produces a clear image, while a high ISO (like 1600 or more) is used in low light but can introduce grain or “noise” to your photos.
Mastering the exposure triangle is key to taking well-lit and visually striking photos. Practice adjusting these settings in different lighting conditions to see how each impacts your shots.
2. Use Natural Light to Your Advantage
Lighting is one of the most important aspects of photography. For beginners, understanding how to work with natural light can make a big difference in photo quality. Here are a few tips for using natural light:
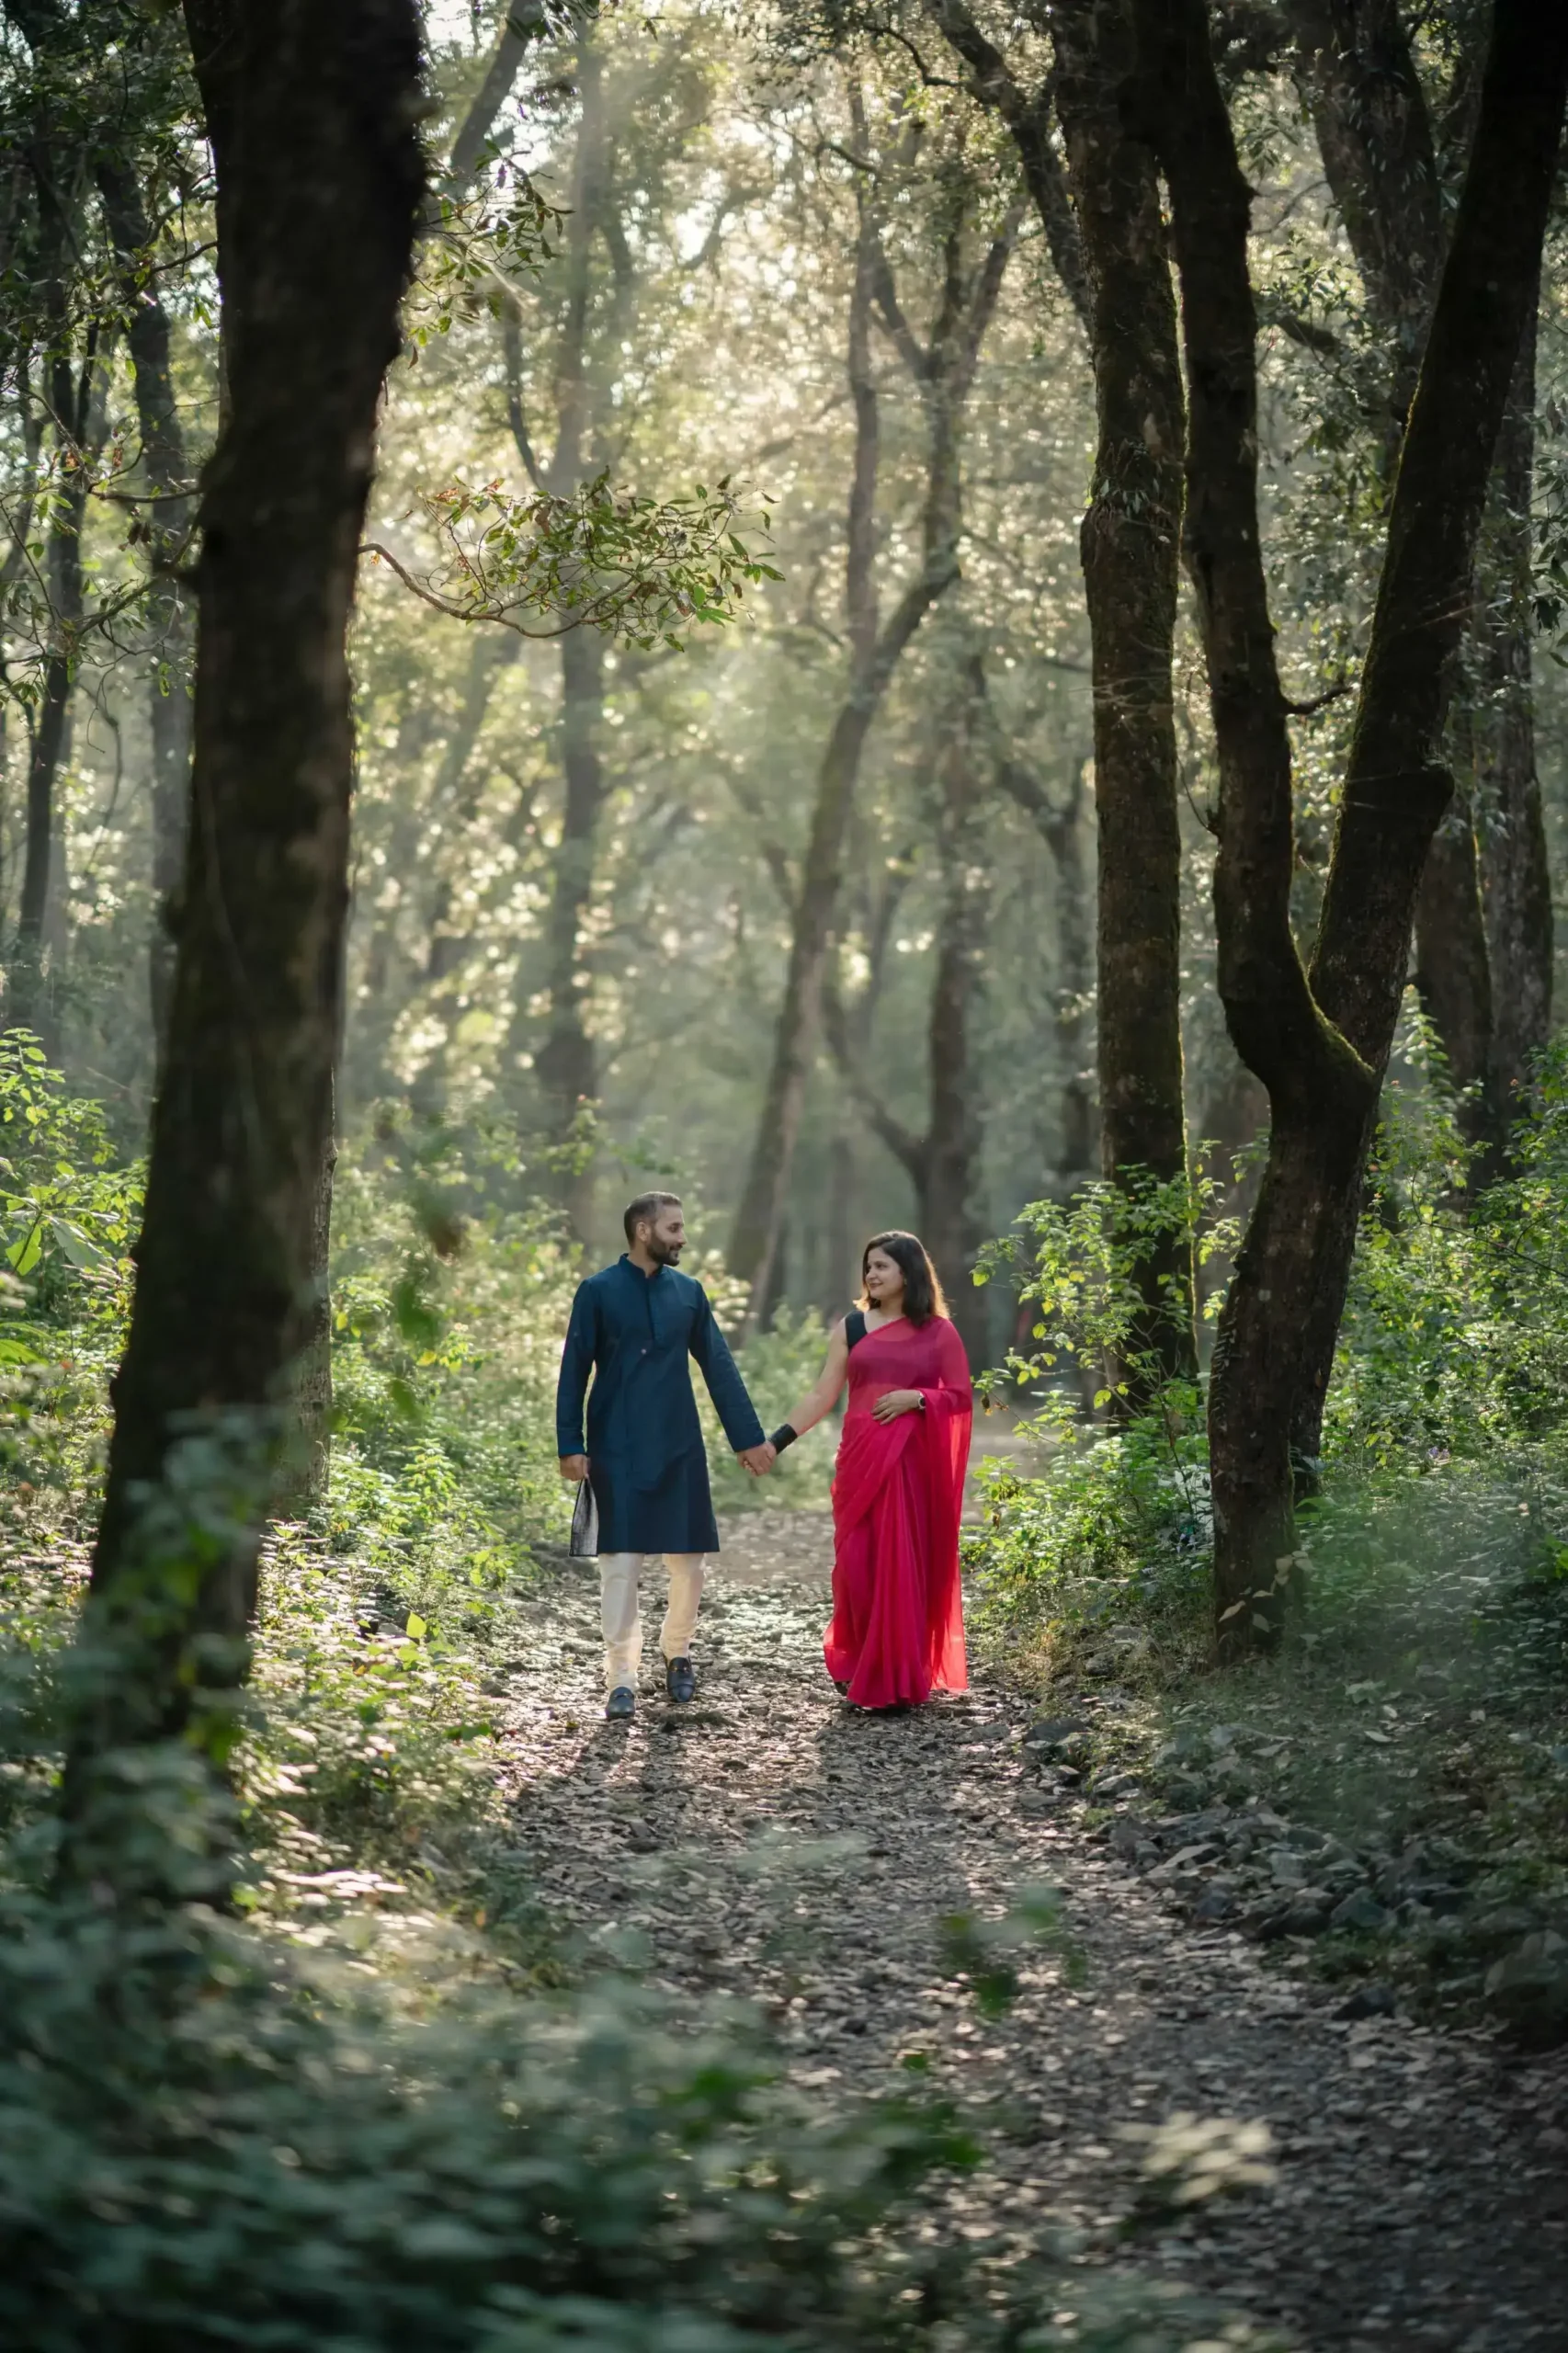
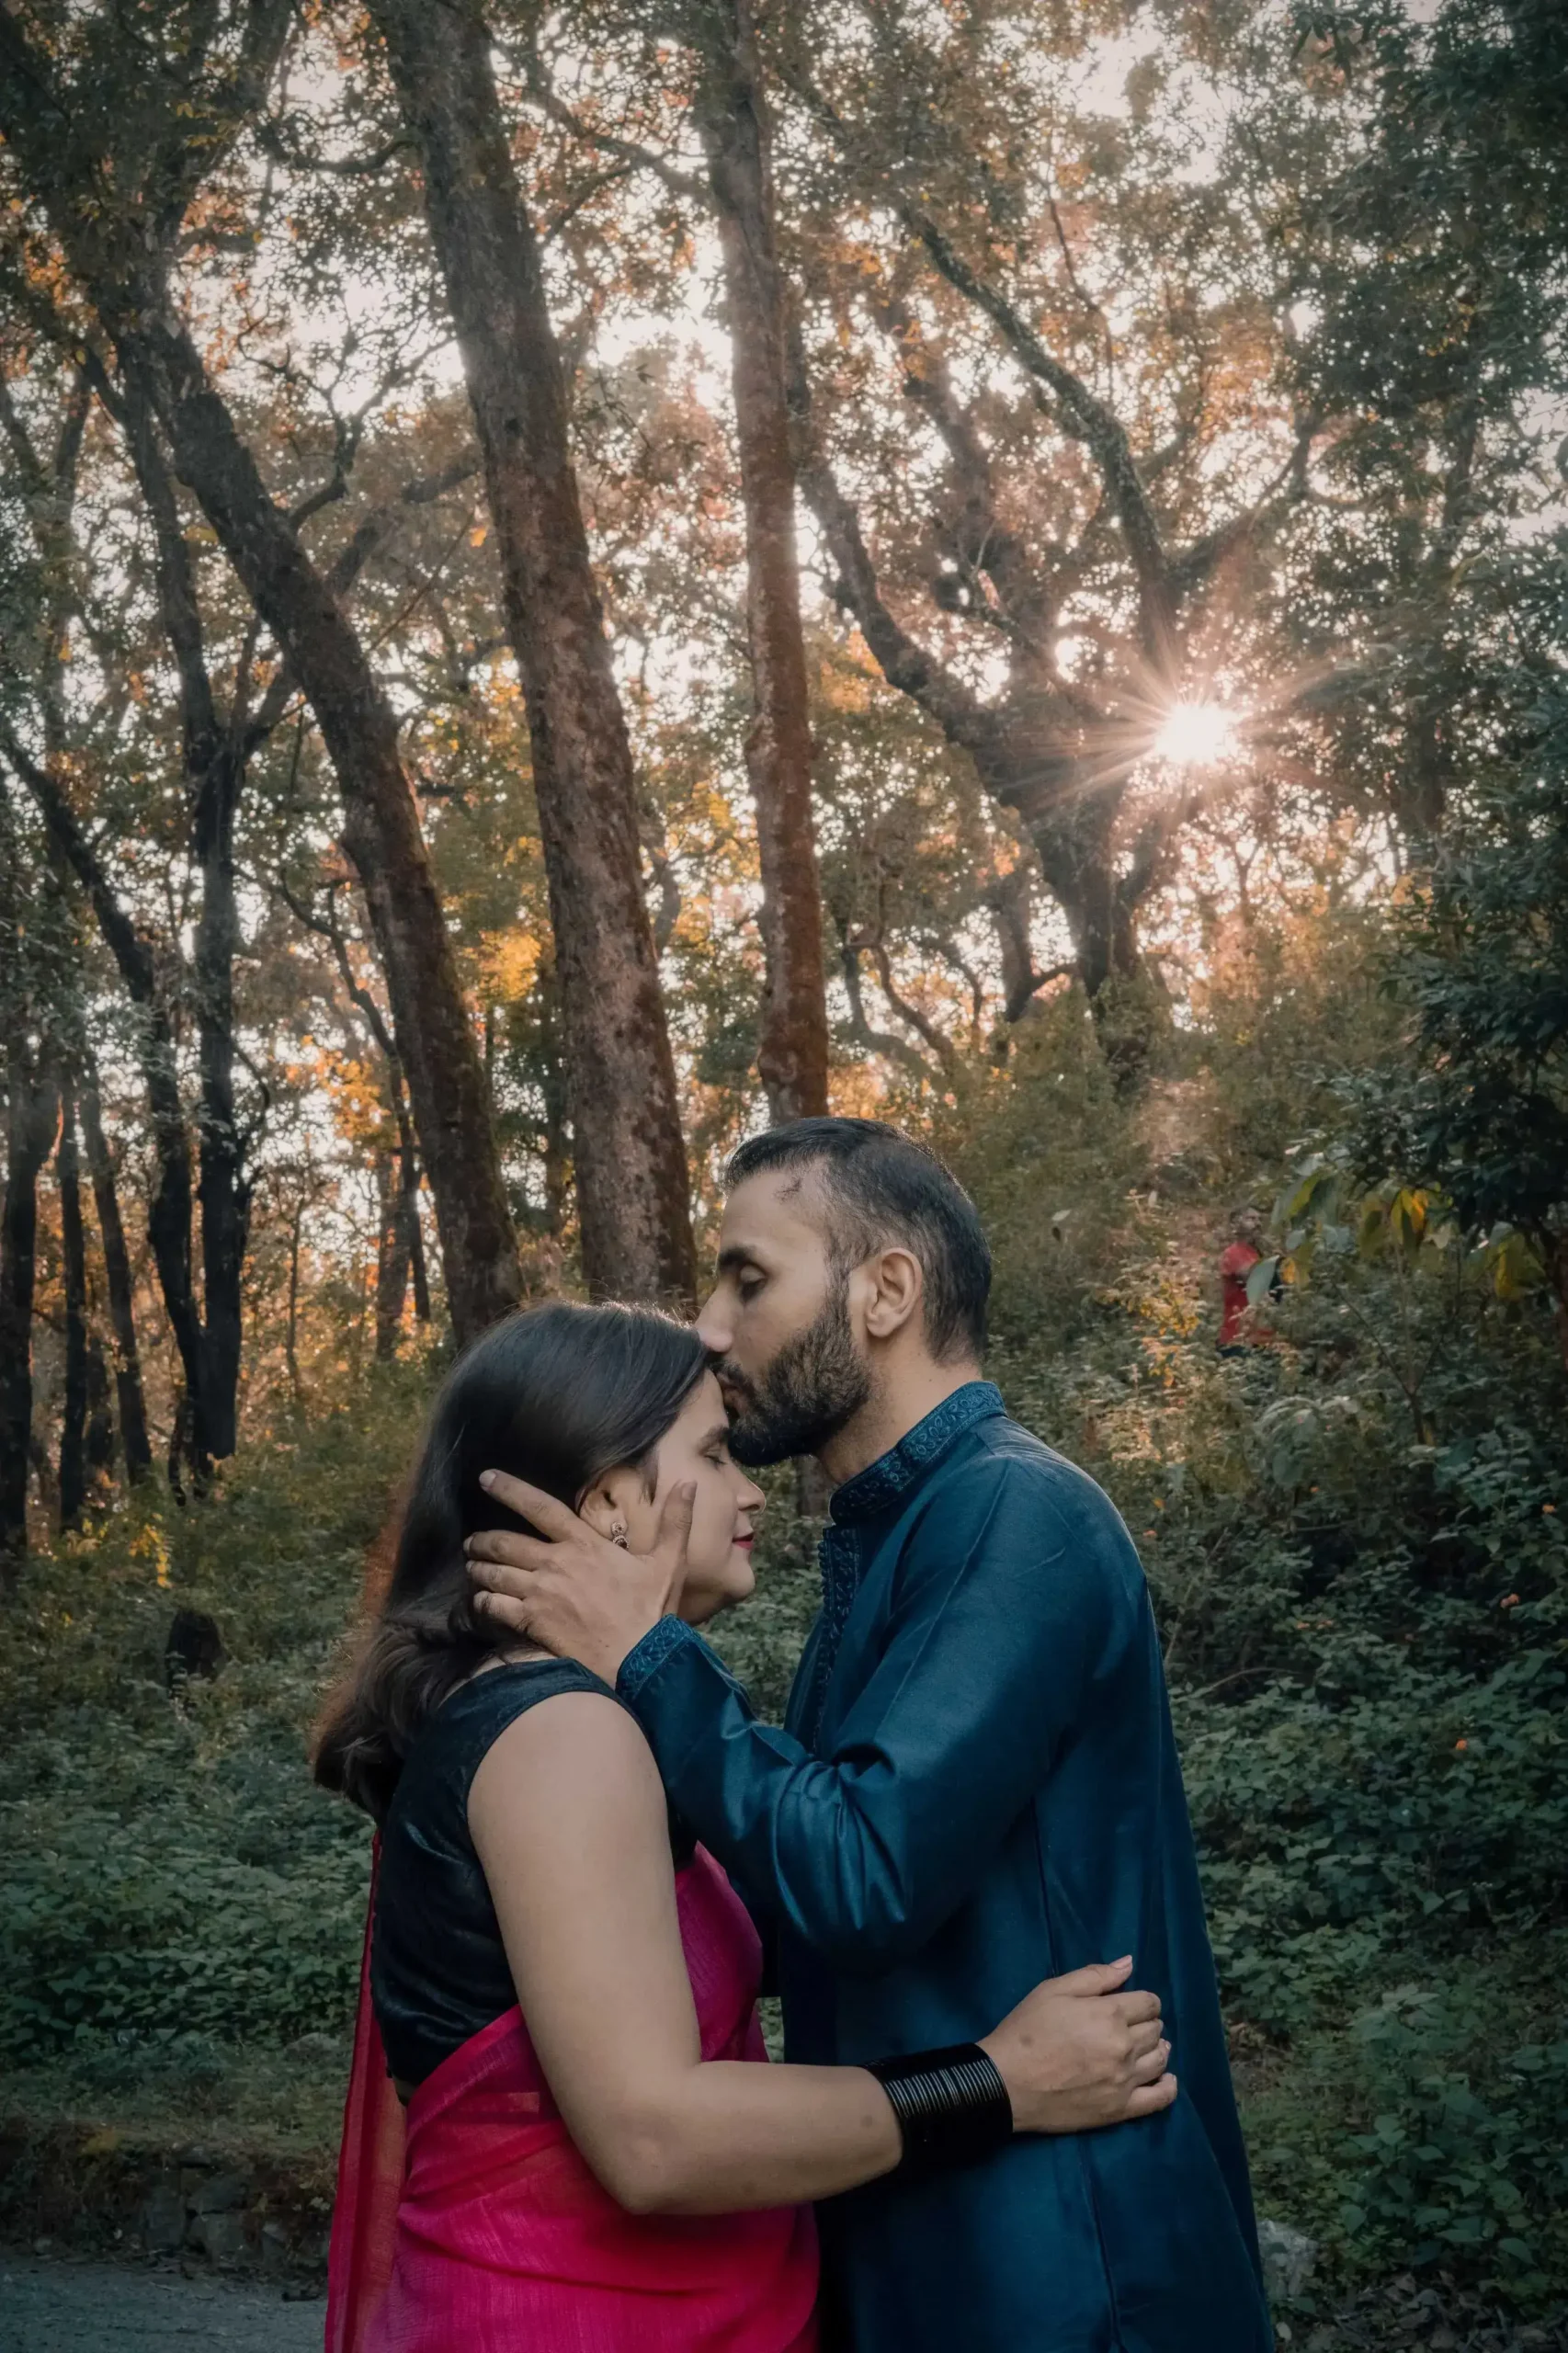
- Golden Hour: The hour after sunrise and the hour before sunset are known as the golden hours. During this time, sunlight is softer and creates a warm, flattering effect. Shooting during golden hour is ideal for portraits, landscapes, and almost any outdoor photography.
- Overcast Days: Cloudy days may seem gloomy, but they provide soft, diffused light that minimizes harsh shadows. Overcast conditions are great for outdoor portraits and close-up shots.
- Avoid Direct Midday Sunlight: The midday sun is harsh and can create unflattering shadows. If you need to shoot in direct sunlight, try to find some shade or use a reflector to fill in shadows.
3. Focus on Composition
Good composition is what separates a snapshot from a great photograph. Even without expensive gear, you can take better photos by following a few compositional guidelines:
- Rule of Thirds: Imagine your image divided into a 3×3 grid. Position the most important elements of your photo along these lines or at the intersections. This adds balance and interest to your shots.
- Leading Lines: Use lines in your environment (like roads, fences, or rivers) to guide the viewer’s eye toward the subject. Leading lines can create depth and help draw attention to the main focus of the photo.
- Framing: Use natural elements (like trees, doorways, or windows) to frame your subject. Framing adds context and emphasizes your subject.
4. Learn Basic Post-Processing
Editing is an essential part of photography that enhances and refines your images. As a beginner, you don’t need to master complex software right away, but learning basic editing can take your photos from good to great.
- Adjust Brightness and Contrast: Small adjustments in brightness and contrast can make your photos pop. Brightening an image can enhance visibility, while contrast makes details stand out.
- Color Correction: Most images can benefit from slight tweaks in color temperature. Cooler tones suit some landscapes, while warmer tones are ideal for portraits.
- Crop for Better Composition: Don’t be afraid to crop your images to improve composition. Cropping can help emphasize your subject and remove distracting elements.
Many beginners start with simple editing apps like Adobe Lightroom, Snapseed, or VSCO. These tools are user-friendly and offer a wide range of editing options.
5. Practice Patience and Experimentation
Photography is a skill that improves with practice and experimentation. Don’t be discouraged if your initial photos aren’t perfect; even professional photographers started somewhere. Here are a few ways to keep practicing:
- Try Different Genres: Experiment with various types of photography like portraits, landscapes, macro, and street photography. Each style will teach you new skills.
- Shoot in Manual Mode: If you’re using a camera with manual mode, try it out. It allows you full control over your settings and helps you understand how each setting affects the image.
- Study Other Photographers: Look at work from photographers you admire. Notice their use of lighting, composition, and subject matter. This can inspire your own work and give you ideas to try.
6. Learn How to Tell a Story
Photography isn’t just about taking pretty pictures—it’s about telling stories. Try to capture moments that evoke emotion or convey a message. Here are a few storytelling tips:
- Focus on Emotion: Capture expressions, gestures, or details that show emotion, whether it’s joy, sadness, or awe.
- Create a Series: Instead of just one image, create a series of photos that tell a complete story. This can be especially effective in travel or documentary photography.
- Think About the Background: Background elements can add context to your photos and make them more interesting. However, be mindful of distractions that take away from your main subject.
7. Invest in Basic Equipment (If You’re Ready)
You don’t need to spend a fortune, but a few basic tools can enhance your photography experience. Consider investing in:
- A Tripod: Helps stabilize your shots, especially in low-light conditions.
- A Prime Lens (for DSLR/Mirrorless Cameras): A 50mm lens, for example, is versatile and ideal for portraits and low-light photography.
- External Flash or Reflector: Improves lighting control, especially for portraits.
Conclusion
Mastering the basics of photography requires practice, patience, and an understanding of the fundamentals like camera settings, lighting, composition, and post-processing. By experimenting and developing your eye for detail, you’ll grow more comfortable with your camera and start capturing shots you’re proud of. Remember, photography is as much about creativity as it is about technical skill—so embrace your style and enjoy the journey. With these essential tips, you’re well on your way to creating stunning photos that capture the world through your unique lens.